![LiquidInstruments-KnowledgeBase-Logo.png]](https://prm.liquidinstruments.com/hs-fs/hubfs/LiquidInstruments-KnowledgeBase-Logo.png?height=50&name=LiquidInstruments-KnowledgeBase-Logo.png)
The Moku:Lab can connect to the Windows app via a simple USB cable; no ethernet or WiFi is needed. This is accomplished by a RNDIS ('remote network driver interface specification') over USB.
- Connect a USB cable between the Moku:Lab micro B data port and your PC
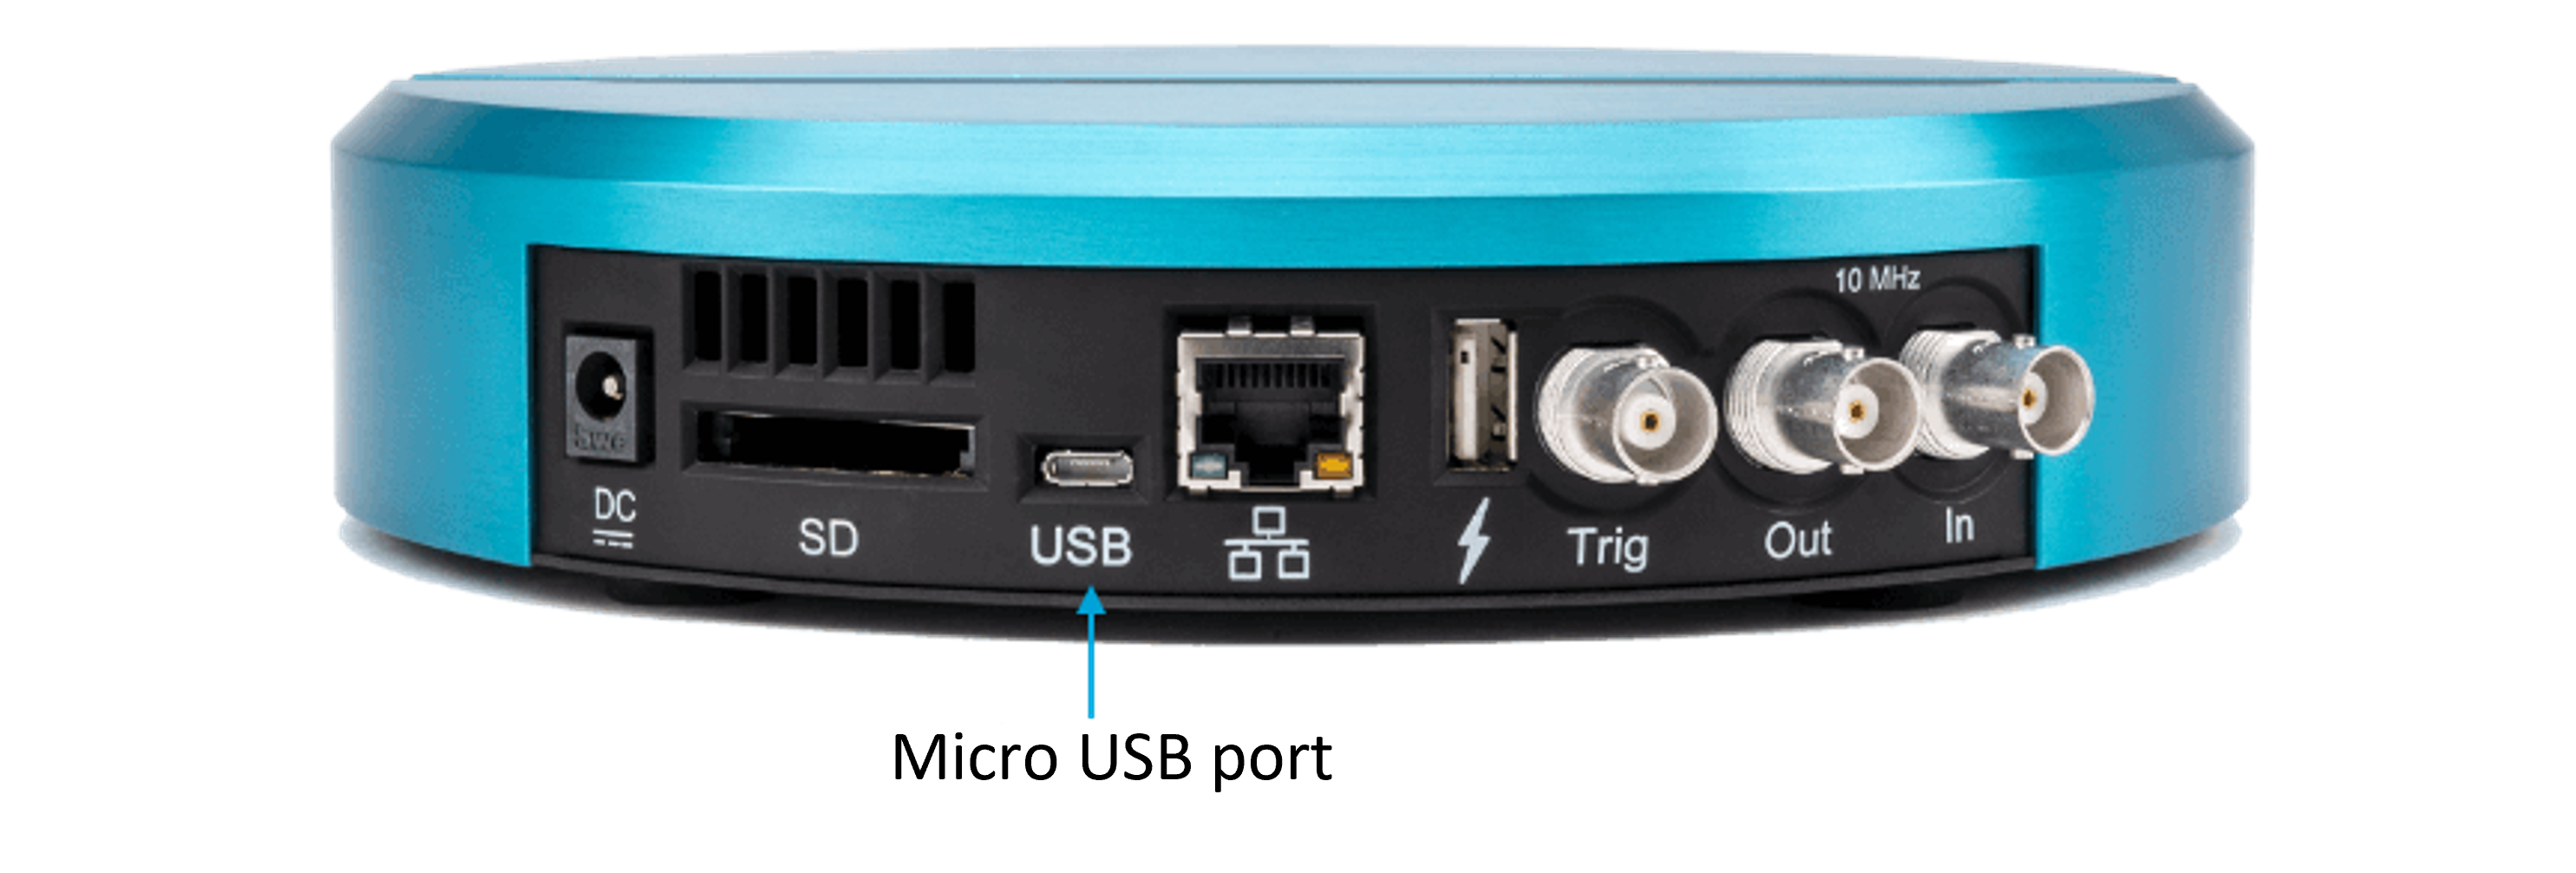
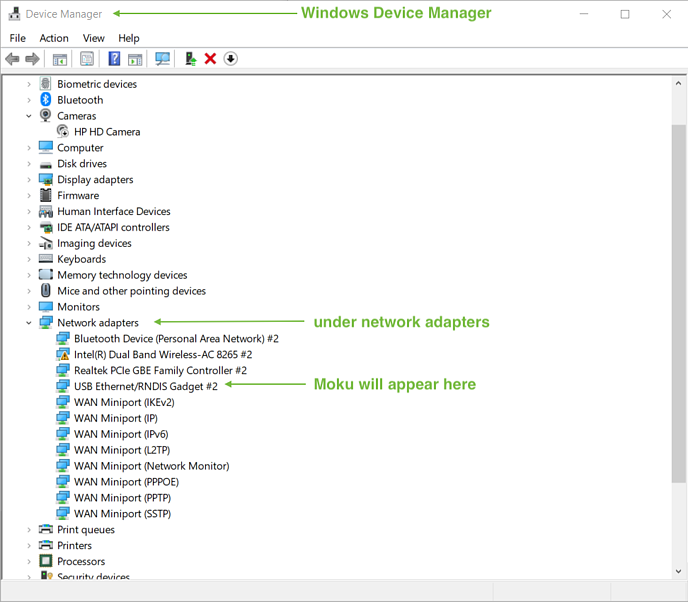
- Open Windows Device Manager, confirm a RNDIS connection under Network Adapters. If Moku:Lab shows up under 'Ports (COM & LPT) as a USB Serial Device, then please refer to this article on how to fix this issue.
- Open the Moku:Master windows app and select Menu -> Connect -> Manual Connection to manually enter the IP address of the Moku:Lab. Each Moku:Lab will have a unique fixed IP address for its USB connection.
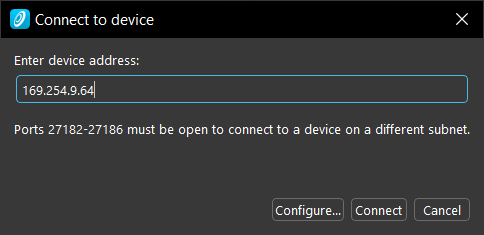
- To obtain the unique IP address of a Moku:Lab when connected by USB, use this USB - IP address tool. You can find the serial number of your Moku:Lab by following this article.
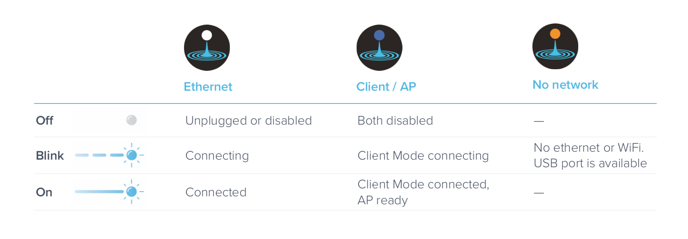
Moku:Lab LED status during USB mode
When connected via USB, and with no other network connection available, Moku:Lab's power button LED will flash orange.